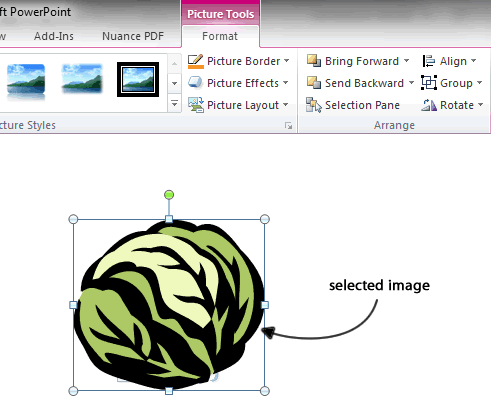
PowerPoint 2010 has a whole host of special “Artistic Effects” that it can apply to the images you insert onto your slides. These images can be photos that you’ve taken yourself, or artwork you’ve obtained from other sources. As long as the image is in a popular format like .gif, .jpg or .png (or other formats) you can insert it into your presentation. It’s dead easy to apply an artistic effect – but you must have your image selected first (remind yourself of how to insert images in PowerPoint). You do need to have the image selected, because only then will the Picture Tools – Format tab be displayed in the Ribbon. And we need this tab.

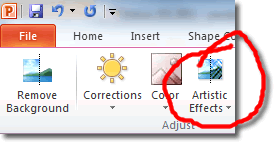
With the image selected, and in the Format tab, you should see the Artistic Effects command in the Adjust group. Here it is:

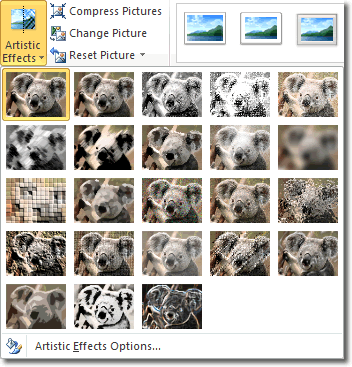
When you click on this magical button, a whole world of possibilities opens up before you. Check out this gallery of artistic effects, using the image we have selected (in this case a cute koala bear. Awwww).

The live preview that PowerPoint offers is invaluable in situations such as this one: you want to preview what one particular setting will look like before moving quickly on to the next setting. You can do this here by simply hovering over the gallery image of the effect you want to preview. The effect is temporarily applied to the image, and is removed when you move the mouse away. And artistic effects are so easy to apply that you can create stunning graphics in a matter of seconds. All you have to do is click on the effect that you like.
Here are some of the more popular Artistic Effects:
- Pencil Grayscale – this effect makes the picture look like it was sketched by the artist with some pencils.
- Paint Brush – a watercolour painting, if ever I saw one!
- Blur – a peculiar one. It just makes the picture look out of focus. Handy if you want to bring attention to the text on your slides.
- Light Screen – this effect reminds me a little of embroidery and/or pictures made with mosaics.
- Glass – a really “wet” look. As though you’re looking through a window that’s being rained on.
Those are my favourite PowerPoint Artistic Effects, anyway. They’re so easy to apply/preview, though, you may as well insert your own images and preview the whole gamut of effects yourself.
Interesting Notes On Artistic Effects
- You can’t apply Artistic Effects cumulatively (e.g. plastic wrap on top of watercolour sponge on top of chalk sketch). Only one effect can be applied to an image at any one time. So choose wisely!
- After you’ve applied your artistic effect, you can save the image from your presentation to your hard drive. This means that you can do fancy schmancy image editing without Photoshop! To save your image (post Artistic Effect), right click on it and select Save as Picture. Find a location on your computer for it and click Save. The image saved includes those fancy effects – yay!
- Clever people will realise that point 2 above contradicts point 1. You can apply an Artistic Effect to your image, save it to your computer, insert it onto a new slide and then apply another Artistic Effect. Yay for thinking outside the box!
- A quick way to remove all effects you’ve applied to an image since you inserted it is to click the Reset Picture command (in the Adjust group, in the Picture Tools tab).

